


Next: 9. Covering
Up: QuickFlick-II Build manual
Previous: 7. Control Rod and
The servos used in the QFII need to be physically small, with low
weight being a minor priority. We used GWS pico standard servos in
our versions.
- Trim the servo service plate to fit snugly in the area between F2
and F3, you may need to trim the diagonal cuts to fit.
- Mark the orientation of the plate for future reference.
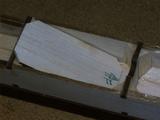
- Size check your servos on the servo service plate
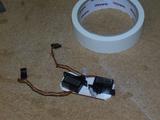
- Wrap each servo in masking tape
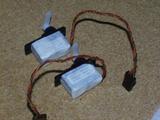
- Hot glue the servos to the service plate, making sure that their extremities
are all contained within the area of the service plate.
- You can hot glue the servos down with the service plate located in
place between F2 and F3 but just be careful that you don't inadvertently
get glue attached to the sidewall.
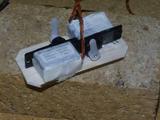
- Cut a length of wire oversize by 20mm that will reach from the servo
arm to the ends of the control wires previously installed.
- Add a Z-bend to one end of the wire
- Install wire, which should now overlap in length past the wire used
to connect to the tail surfaces
- Join the two pieces of wire together with a coupler, such as an aluminium
QRP connector.
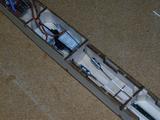
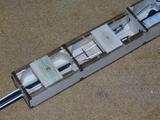
- The wing bolt mount crossbeams can now be installed and glued at will.


Next: 9. Covering
Up: QuickFlick-II Build manual
Previous: 7. Control Rod and
Paul Daniels
2005-09-15


