


Next: 4. fuselage
Up: QuickFlick-II Build manual
Previous: 2. Preparation
Subsections
- 1.5mm vertical stabilizer
- 1.5mm rudder
- 1.5mm horizontal stabilizer
- 1.5mm elevator
- 6~7mm CF boom
- 6mm triangular stock
- 3~5mm x 6mm x 40mm grooved end-grain pylon mount for
horizontal stab
- 3~5mm x 6mm x 50mm grooved end-grain pylon mount for
vertical stab
- 12mm wide clear tape
The tail feathers are made of very thin (1.5mm) balsa and subsequently
can potentially be damaged very easily on rough landings. You can
opt to cover them with very light glass (0.75oz or lighter) if you
prefer, this will give greater durability and increase the potential
maximum launch height.
- Cut the CF boom to a length of 560mm (22'').
- Wrap a couple of layers of masking tape around the boom at the point
where it needs to be cut, this will help prevent the boom from splintering.
Use an abrasive grinding wheel if possible. Strongly suggest avoid
using a hacksaw as this will cause a lot of potential splits.
- Keep off cut for using as a sanding guide later in the build process
and potentially as the launch peg.
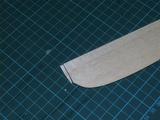
- If desired, trim off a small amount of the rudder piece from the bottom
to prevent snagging and subsequent tear off.
- (ADVANCED) Cover the tail surfaces with
25g/m.sq or similar finishing glass using preferred method (CA works
well as a sealing agent providing you sand it back afterwards). Use
this technique if you're planning on launching higher than 30m/100ft
regularly.
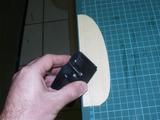
- Bevel the join edge of the rudder using a balsa plane (or other tool)
to approximately 45 degrees
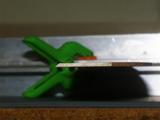
- Finish off the surface of both pieces of the vertical stabilizer
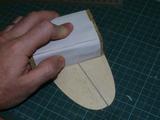
- Round the leading edge of the vertical stabilizer
- Feather down the trailing edge of the rudder
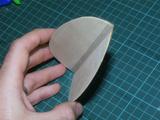
- Hold together the two halves of the vertical stabilizer with the rudder's
bevelled edge facing out
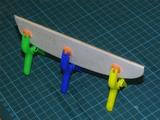
- Apply a full length of 12mm clear tape to the bevelled side of the
two halves and fold it over the join
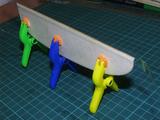
- Release the two halves from the clamping, the vertical stabilizer
will tend to now fold up a little
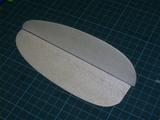
- Hold the two halves down flat and apply a second piece of 12mm clear
tape to the opposite side
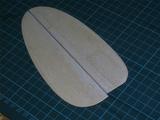
- Your rudder is now hinged. There will be approximately a 1mm gap between
the two halves, this is normal.
- Perform the same tasks as with the vertical stabilizer/rudder to the
vertical stabilizer/elevator.
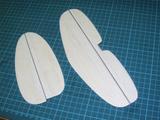
Bonding the tail feathers to the boom is an important task which must
be done carefully to ensure maximum holding strength.
- Sand a suitable groove into a short length of 6mm end-grain medium
balsa by placing sandpaper around a sample of boom and sliding the
balsa block progressively against it
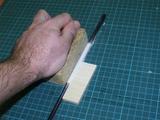
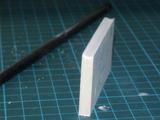
- Slice off a portion of the 6mm end-grain of approximately 5mm width.
We do this using a balsa slicer set to 5mm + diameter of the boom
(ie, 5 + 7mm = 12mm). To ensure a cleaner cut we progressively increase
the depth of each cut rather than attempting to slice through the
end-grain in one pass (typically requires at least 3 passes)
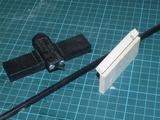
- Size up the length of the grooved balsa required for the horizontal
stabilizer
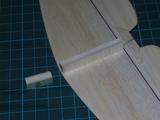
- Mark the width of the interface on the tape hinge. We do this so we
know where to cut away the tape. If we don't cut away the tape, when
we bond the interface to the horizontal stab it won't stick in that
area causing a potential weakness.
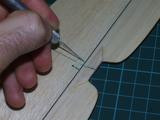
- Glue the interface down onto the horizontal stab with CA. Ensure there's
a good bond and wicking. Try to avoid letting the CA wick too close
to the top (where the boom will adhere) otherwise this may interfere
with the boom/interface adhesion later.
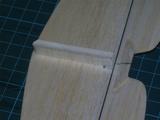
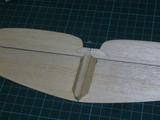
- Due to the stresses involved on the tail feathers and the thin wood
they're made of (1.5mm), it's important that the load between the
boom and the horizontal stabilizer is spread out. To do this we add
some 6x6mm triangular stock on either side of the exiting interface.
Remember to cut away the tape hinge where required.
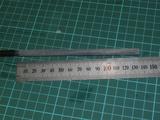
- Before attempting to bond the boom to the tail feathers it's important
to lightly roughen up the boom using some 200 grit or finer sand paper
up to 135mm from the end of the boom. Once you have done this, wash
the boom under water and wipe dry, the boom should appear slightly
more matt in appearance where the sandpaper was applied
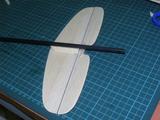
- Finally, glue the horizontal stabilizer to the boom with the leading
edge of the stabilizer at 135mm from the end of the boom. Make sure
that the boom is resting evenly and horizontal in the groove. It's
suggested that epoxy be used for the this bond. If you prefer to use
CA provide at least a few minutes of bonding time even if the CA is
``fast''.
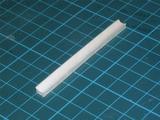
- Prepare a 6mm wide end grain balsa interface as with the horizontal
stabilizer but instead of a 5~6mm wide piece we instead
use a piece of 3~4mm. The reason why we have a thinner
piece for the rudder is that we need it to be as close to the boom
as possible so that the control rods / bell-cranks can remain aligned
without requiring offsets.
- Mark the vertical stabilizer approximately 50mm from the base. Ensure
that the line is perpendicular to the hinge join.
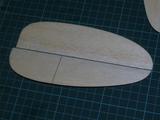
- Glue on the pylon interface
- Glue on some 2.4mm balsa strip scrap as reinforcement for the rudder
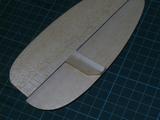
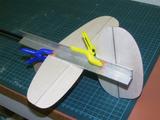
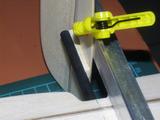
- When bonding the vertical stabilizer to the boom, it's very important
that it is set up at 90 degrees to the existing horizontal stabilizer.
There are many different ways that this can be done. We have used
some right angle aluminium channelling to which we clamped on both
the existing horizontal stabilizer and then the vertical stabilizer.
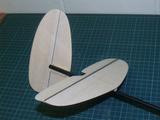
- Your tail feathers are now finished (until later when we add the radio
control equipment).


Next: 4. fuselage
Up: QuickFlick-II Build manual
Previous: 2. Preparation
Paul Daniels
2005-09-15


